
Side tip, take clean images of your lens, the more professional your advertisement pic looks, the better the lens looks.
Camera lenses are expensive, and for most of us are the subject of dreams. One way you can facilitate achieving ownership of your dream lens is to buy second hand.
I have both bought and sold several second hand lenses. In all of my cases it has been successful and a joy to do. I get to give/receive and new bit of kit and meet some interesting people along the way.
Here are a few tips for buying a second hand lens.
1) Price
If it is too good to be true, it probably is! Look online to see what the going rate for the 2nd hand lens. Also, don’t be a d**k, don’t over charge for you lens, be fair. Lenses, unlike camera bodies, hold onto their value a lot better; so don’t always expect to get a huge discount. I have bought new lenses that a couple of years later where worth more second hand as the value of the lens also increased over time!
2) Is it stolen?
Well, this is difficult to tell, but one good resource is to ask the seller for the lens Serial Number and check it on lenstag… if you don’t know this site you should check it out and register your gear too!
Once you are happy with the items description you can set up the exchange. Take a newspaper and torch/light with you… all will be revealed! :)
3) Meeting the seller/buyer
This is common sense… don’t meet in a dark alley at midnight, choose a nice well-lit public location like a coffee shop! :) The newspaper can be useful here if they are late! :)
4) Checking cosmetic condition
I generally don’t care too much about the cosmetic qualities of a lens, for me it is what is inside (the optics) that count. However, it does tell you a bit about the previous owner, their usage and if it has been abused! Scratched/chipped paint happens, dents are bad, so be careful! Filter holders break easily (especially plastic ones) so don’t always be put off by that, unless you really wanter to use filters that is! :)
5) Check optical condition
Resolution – Take a picture of a newspaper (at a 45 deg angle), check it looks good… if you can check it on a laptop (LCD screens on cameras suck). This will also allow you to check out the bokeh (out of focus regions of the image) too!
Check for the presence of Fungus/haze/dust that could affect the image quality. To do this you open the aperture wide open (canon lenses are always like this when not mounted on a camera), and shine a light through it (hence the torch). This will show any particulars in the lens. If you see fungus on the inner elements, I would not buy it. Dust however is rarely a problem. All lenses have it and I would only be concerned if it resembled the Sahara desert in the lens! :)
Scratches on rear and front element – the rear element is the most important bit here, just check to make sure it is clean and scratch free. As for the front element, starch free is preferable, but it will have little impact on the image quality if it has a few minor scratches… don’t believe me? Check this out!
6) Check mechanical condition
All lenses (baring pinhole etc) have mechanical parts, it is important to check these, as these are the parts that are most likely to fail.
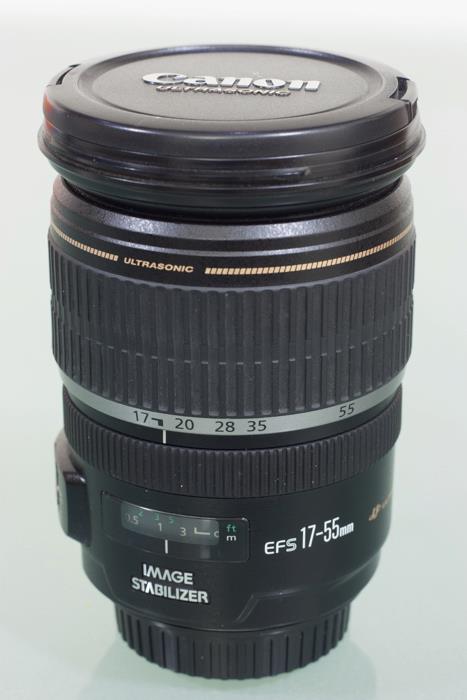
Zoom – check the zoom ring and zooming mechanism feel smooth, no grit etc. Zoom in and out slowly and make sure it is consistent. Bare in mind some lenses have inconsistent zooms on the best of days (an example is the canon EF-F 17-55 f2.8 IS, the zoom starts off stiffer than at the end).
Focus ring – Same as Zoom ring, make sure it is clean and smooth all the way through the focal range.
Check the Image Stabilisation/Vibration control (if applicable) is working. Take a slow exposure image (1/4 second) with and without the IS/VC/VR switched on. There should be a distinctive difference if it is working properly!
Auto-focus – Check its ability to focus near and far. Does it sound right (this requires a bit of practice, but generally most lenses are fairly quiet, though some do sound like a steam train).
Lens centred – lenses tend to be less sharp at the edges of the image, this level of sharpness drop-off should be equal on all sides (top, bottom, left, right edges of the images). However, a damaged lens might not be centred, meaning that one side is less sharp than another. Take a pic of your newspaper again (perpendicular/90 degrees to it), and check it is equally (un)sharp along all edges.
7) Enjoy
You have gotten a new (to you anyway) lens... now go use it!
I hope that this has helped a few of you guys.