
How to take sharper Photos
We are always trying to get razor sharp images but sometimes it is difficult, especially if you don't know what you're doing wrong... There are many factors that could make an image sharp, more than I originally anticipated. Here are 20 tips that will help you get the sharpest image possible! To make things easier I have broken it down into 5 categories:
- The Basics
- Focusing system
- Stabilization
- Technique
- Your gear
The Basics
The primary reason for not sharp images is not knowing how your camera work, so this first section is going to go over each of the core elements of taking an image and seeing how they affect the sharpness of your image.
Here I wanted the motion blur of the train so used a slower shutter speed, but had to have a high enough shutter speed to avoid too much camera shake and keep the static subjects sharp. This is why shutter speed is so important for creating your images and making sure they are sharp where they need to be!
1) Shutter speed
This is usually the prime reason for blurry images. The shutter speed as double impact on the image being blurry.
- The first relates to the subject. When your shutter speed is slow, than you will get motion blur. If the subject is moving quickly then you you need a fast shutter speed to "freeze" the action and make a sharp subject (if that is what you are going for). Motion blur can create a great dimension to your image, but is not always desired. As a general rule of thumb, you will need ~1/1000.
- The second is to do with you, and is called camera shake. If your shutter speed is slow, any movements YOU make, no matter how small, will blur the whole image. This is very evident the longer (or more telephoto) your lens is. The longer the lens the more camera shake you get. In order to avoid camera shake, a general rule of thumb is don't use a shutter speed lower than 1/focal length of the lens you are using. For example, if you are using a 300mm lens you should not use a shutter speed lower than 1/300, otherwise you risk camera shake. This is obviously not applicable for everyone, depending on your abilities, but is a good starting point to gage it for yourself.
If you have any questions about shutter speeds, read this!
2) Aperture
Often images are called blurry when in fact they are not, they have just not focused accurately. This is a problem with low f/number lenses as depth of field is so low, it is easy to miss the target. If this is happening to you one option is to use a narrower aperture (higher f/ number), this will give you a deeper depth of field and means more of your subject will be in focus. However, remember, by increasing the f/number, you're letting in less light and will need to reduce the shutter speed or increase the ISO accordingly! It is all a balance.
Different apertures will give different sharpness. Lenses are rarely sharpest wide open, and to get the sharpest image you can from a lens you will need to stop it down a bit. For example, if you have a 50mm f/1.8, it will be sharpest around f/2.8 to f/4. However, the sharpness will get worse again after the optimal aperture so higher is not always best. This is different for every lens, so you will just have to test it for yourself. :)
Rule of thumb : 2 stops slower is generally sharpest.
In order to get all the butterflies in focus, i had to increase my aperture so that the depth-of-field was large enough to capture them all (well, most of them)! :)

3) Keep your ISO low
The higher the ISO the lower the image quality is, sharpness included. So you always want to keep your ISO as low as possible. For more information on choosing your ISO, I suggest you read this post I did:

Focusing system
Another prominent reason for not sharp images is due to focusing, that is how the lens projects the light onto your cameras sensor. I regularly see great images ruined because of incorrect focusing, mainly due to the the focus not being where it should and thus making the subject not sharp! In this section I will go over ways to make sure your focus is spot-on!
4) Manual FOCUS (MF)
The main advantage of DSLRs is the ability to view your shots immediately on the LCD at the back... This revolutionized photography for the masses. It also has another great use, manual focus. You can use your cameras live-view feature and zoom in (10x for me) to get a very precise view, allowing you to manually focus with precision.
5) The right Focusing Mode
MF is the best way to guarantee correct focus, but it has a major drawback; it is horribly slooooooooow. So most of the time, we use the cameras auto-focus instead, but it is important to use the correct focusing mode.
Cameras also tend to have another mode, that is an "intelligent" blend of the two. Avoid it, as it guesses what you are trying to do, and sometimes will guess wrong.
There are basically two types of Focusing mode on a modern DSLR; a mode that focuses once when taking the image (OneShot/AF-S), and one that focusing continually (IServo/AF-C). Each has its place, and if not used correctly, does not work well.
For example, OneShot focusing on canon, will focus and then take the image. If you use this on a static subject, it works great and is very accurate, but if you use it on a moving subject (particularly one moving closer or away from you), by the time it takes the picture, the subject has moved position and it will miss the focus. Like everything there are pros and cons, but the bottom line is this:
- Still/static subject - use OneShot/AF-S
- Moving subject use IServo/AF-C.
A note on IServo : Some cameras have settings for finer control of IServo, if your camera can do this, you should look into this so you can get the best out of your camera!
6) Use Single Auto-focus (AF) point
Modern cameras are packed with AF points, but just because you have 64+ of them does not mean you should use them all at the same time. By changing your camera setting to use only 1 of your AF points, it will allow you to focus more precisely on what you want sharp.
The exception for this point is birds in flight... using just 1 AF point makes it very hard indeed.
This is what the AF points look like on a Canon 5D Mark III. Each point has a different sensitivity to light (f/number) and works in wither a horizontal, vertical, cross or double-cross orientation, which provides different specificity. Knowing this allows me always to use the best point for the job at hand! Image taken from a canon AF point manual!
7) The correct AF point
Following on from using a single AF point comes using the best AF point! Usually this is the one closest to the subject. It is important to place it over the EYE of the subject (if it has eyes, if not, well, the main point of interest). So select an AF point that gives you the composition you want, or as close possible. On another note, YOUR centre AF is usually the best one, so in low light conditions use that to focus, it will be the most accurate.
If you have not got a focus point where you exactly want it (a common problem), then use the closest AF point, focus, recompose the shot how you want it, and then press the shutter.
If you've not read it already, I recommend you read a post I did on how the AF system works, and why it fails in low light situations and on dark subjects.
8) Back button focus (BBF)
This is a little bit more advanced, but then again, if you can notice you're images are not as sharp as others, and want to improve, it is relevant to you! :) The default setting puts the focus button and shutter button together, meaning, when you "click" the camera will focus before taking the picture. This makes sense for beginners, but it limits your photography options. By separating the focus from the shutter, you have several advantages:
Don't have to switch between focus modes
If you have your AF mode set to continuous focus, back-button is a huge advantage. press it once and you get one-shot focus, hold it down and you have continuous focus. This can not be done when the focus is initiated by half-pressing the shutter button! No need to switch AF modes (as much).
Can manual focus at any time
Normally, to manual focus, you have to turn AF off on your lens (assuming it has it) and then you can manual focus. with BBF, you just don't focus and you can manual focus whenever you want, no need to change settings! (assuming your lens has full-time MF).
Easier to focus and recompose
If your AF point is not exactly where you want it, or if you are shooting in low light and using only your center point, you need to focus and recompose. In the standard situation, this involved awkwardly half-pressing the image and recomposing (which can only be done in one-shot by the way). I found that this lead to accidental shots, and many missed focuses as it is not a comfortable situation. With BBF, you press to focus, then move and press the shutter when-ever you want! :)
The Cons!
Like everything in life there are some down-sides... but for this situation, in my opinion, there are few. The main one being you will probably screw up some shots while getting use to the new settings, but this is minimal and I find people get used to it very quickly! The only other down-side I can think of, is if you give your camera to someone else to take a pic of your good self, their images won't focus, as the average Joe does not know BBF! :)
Stabilization
I've already mentioned camera shake in the very section of this post, and this whole section is linked to that... It is important to hold your camera still (relative to your subject) in order to get a sharp image.

This is the IS unit that moves the floating lens element inside an image stabilised lens to keep the image steady on the surface of the sensor or film.
9) OS/IS/VR/VC
If your lens has it, use image stabilization (or whatever your lens calls it). This is a clever bit of mechanics that reduces camera shake, allowing you to take stable images at up to 1/4 the normal shutter speed (1/25 instead of 1/100 for example). This will not, however, help with motion blur in your subject, so it only really helps with stationary or slow moving subjects!
When shooting moving images you might want to pan with your subject. For this kind of motion there is often a specific IS mode on your camera so that the IS does not interfere with your lens panning.
10) Hold your camera properly
Holding your camera correctly is important to get the best stability, reduce camera shake and get sharp images... It is also important for you, especially when you are using big heavy lenses, and avoiding injuring yourself! That is why I took the advice of chiropractor come photographer Shelly Lake in a previous post!
11) Squeeze the trigger, don't click it!
Clicking the shutter moves the camera, introducing camera shake, so squeeze it slowly, don't click it harshly! Mastering this will allow you to reduce your shutter speed if needed/appropriate.
12) Continuous shooting
Following on from above, I suggest using continuous shooting mode on your camera. Hold down and fire off more than 1 shot. This is particularly useful when at a less than ideal shutter speed, as the movement of pressing the shutter causes camera shake, and this way the 2nd, 3rd, 4th pics are more likely to be sharper...

I did not have a tripod with me, so used my bag (with towels inside) instead. It gave me a flat platform.
13) Tripod
For situation where you need or can use a slow shutter speed (stars, landscapes etc...), a tripod is a requirement. A Tripod is not really applicable for fast moving subjects (other than to rest your tired arms) since to get the subject sharp, you would need a shutter-speed so high that stabilization is less of an issue. However, it will allow you to use ANY shutter speed you need or want without introducing camera shake as long as you consider the following:
- It is a good quality tripod, you want a good solid base for your camera that can easily hold the weight of your camera and lens.
- Remember to turn the stabilization off on your lens when you mount your camera on a tripod. It can actually introduce camera shake in this situation, by trying to correct shakes that are not there!
- Use a remote/shutter release, because even on a tripod you can still get camera shake from pressing the shutter button. If you don't have a remote, put the camera on a self-timer, so it has time to 'stabilize' before taking the picture.
- Sometimes even the 'slap' of a DSLR mirror is enough to add blur to your image. So use mirror lock-up or shoot in live-view to avoid this.
- The heavier your tripod is, the more stable it is from the wind... so add your bag to it!
If you don't have a tripod, use a wall, bean bag, towel or anything that will hold your camera still.
Techniques
These are some other tips, and to be honest I couldn't think of a good name for them, so I just called it techniques. :)

14) Find Good lighting
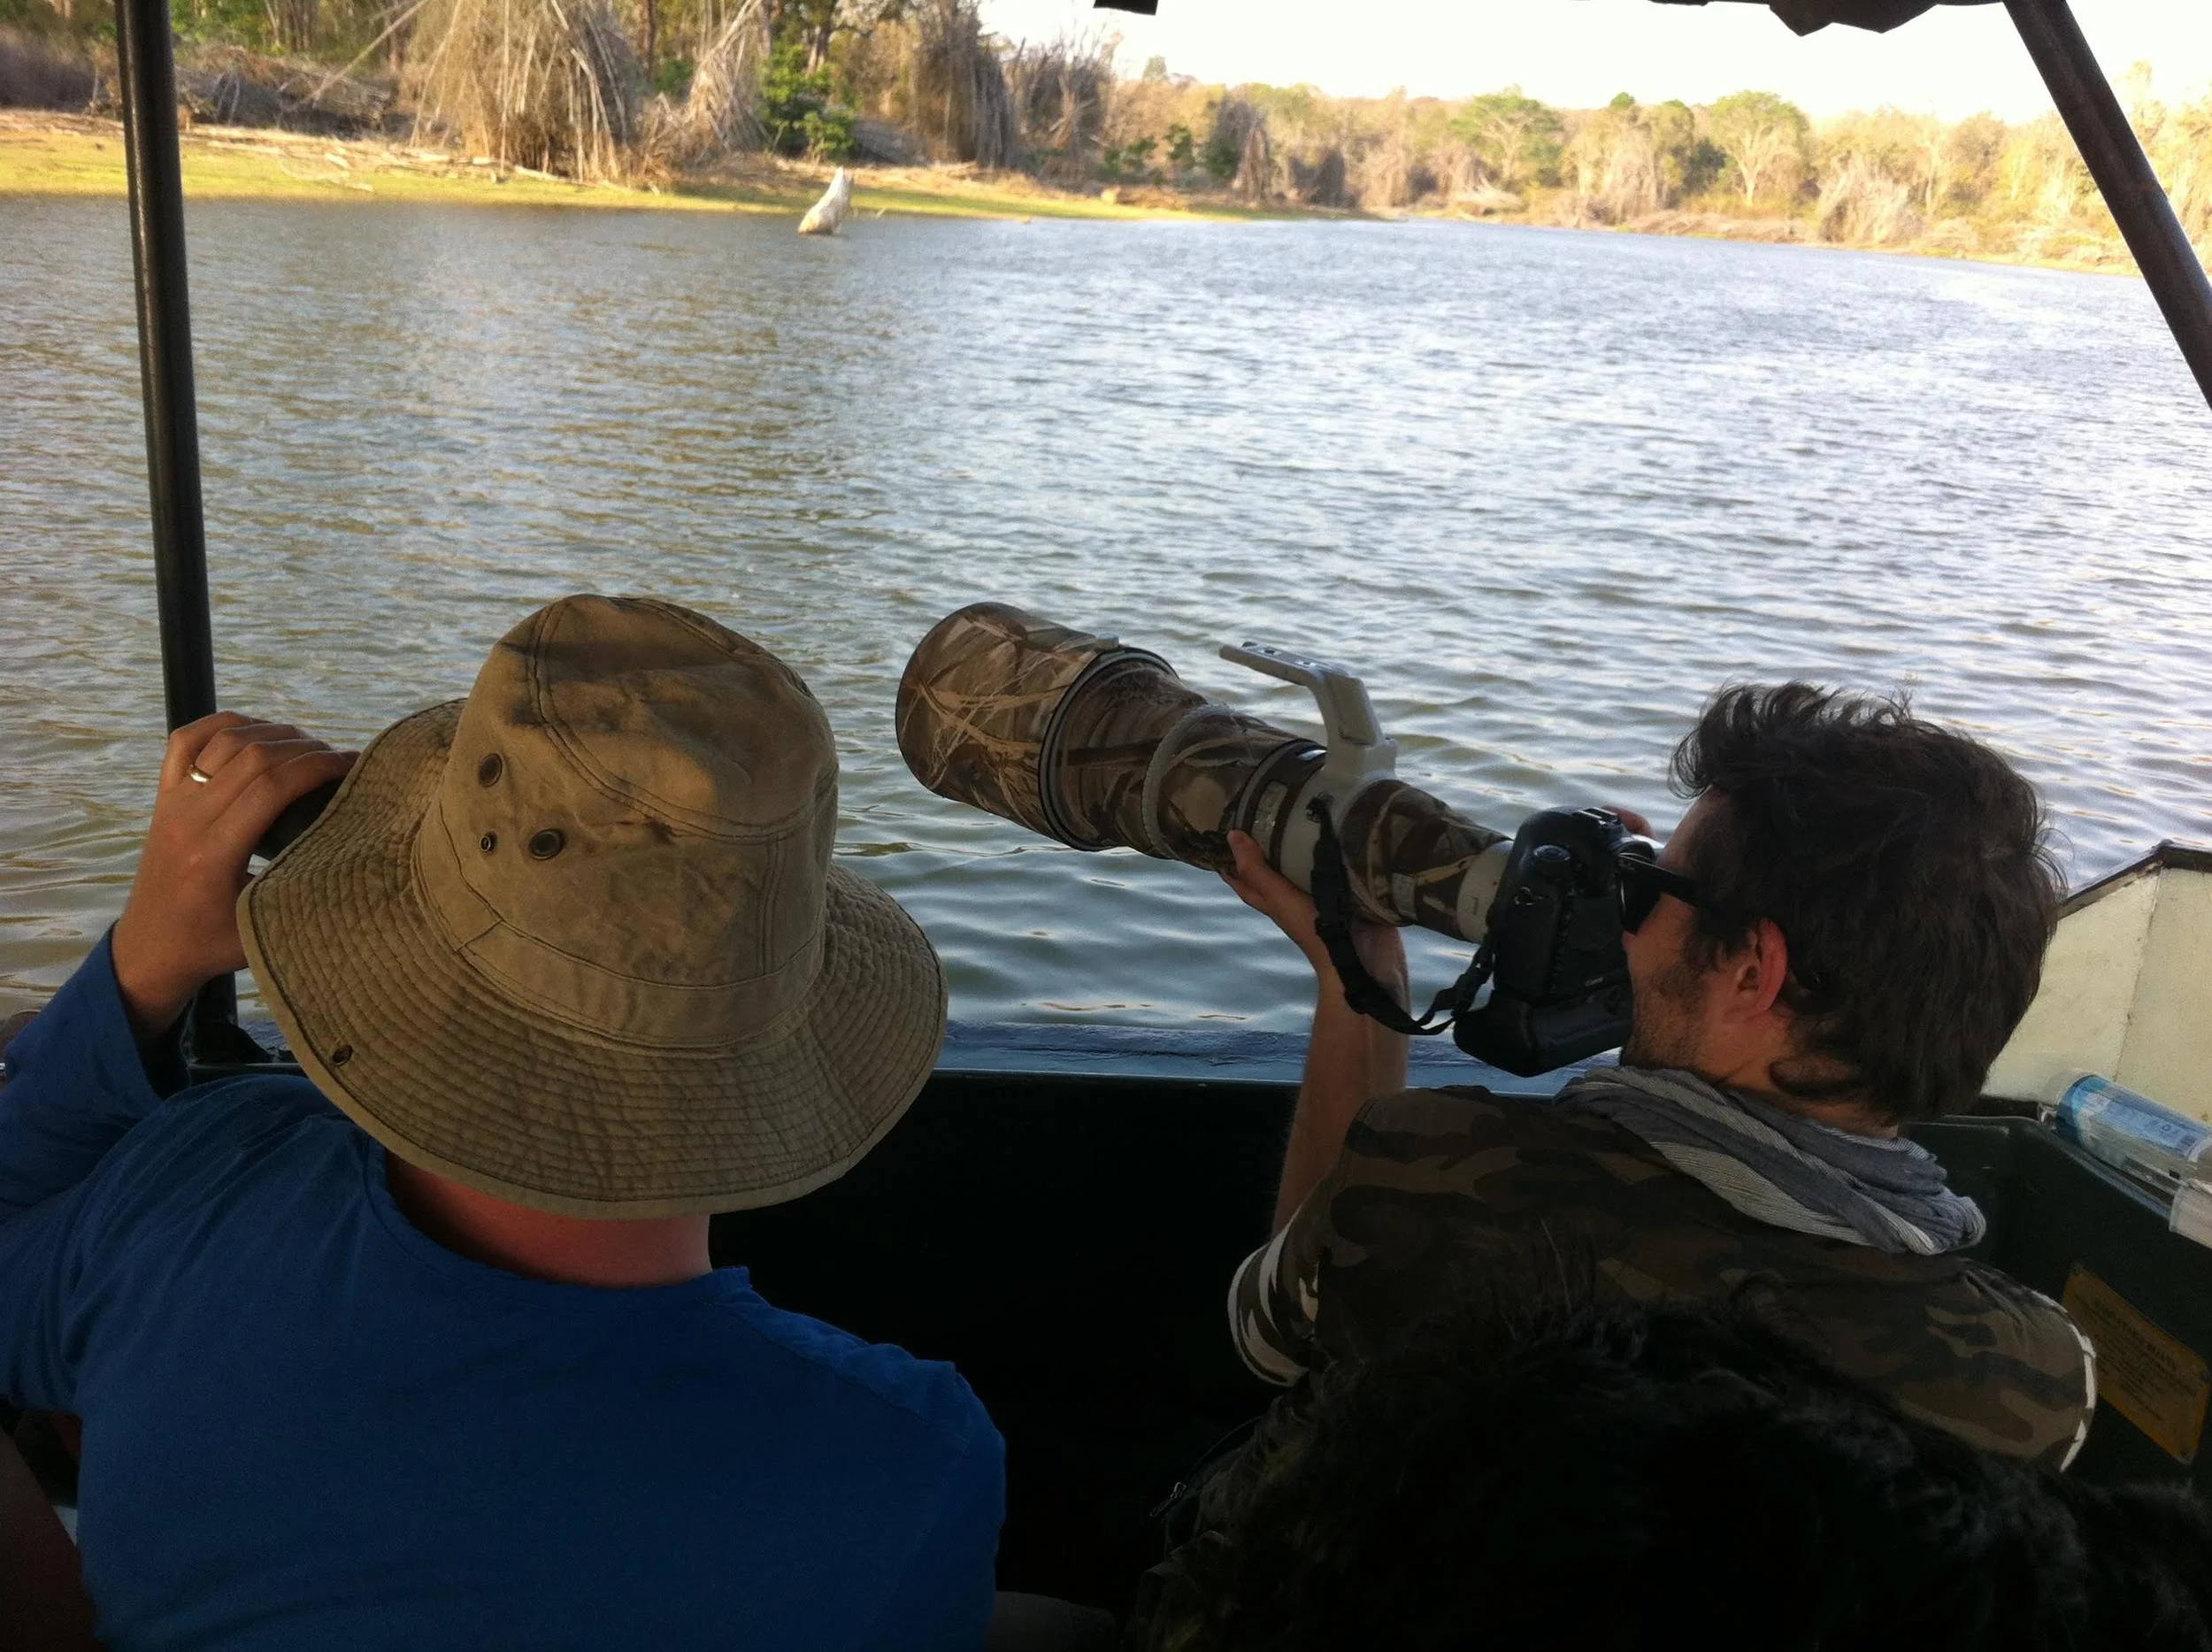
The better the light, the more options we have for getting the sharpest images. So try finding better light. this could me moving your safari jeep to a better vantage point or putting the subject in a different location. Good lighting makes photography easy, and will let you get the best image possible. Trying to get a sharp image in sub-optimal conditions is a lot harder, so make it easy on yourself.
In this case it was of my wife using an iPhone6... not known for their low-light prowess, so we moved so we could use the light from a restaurant window to increase the image quality and sharpness in turn.
More light generally means more options.
15) Use a flash
Using a flash is another technique that will help you get sharper images, particularly with portraits. It will all you to control the light on your subject and let you use camera settings (shutter speed, aperture, ISO) that will give you sharper images!
16) Don't be afraid of high ISO
Good lighting is will make a lot of difference to your images but we are not always in control of it. In situations like in wildlife photography, where we still need a high shutter speed, the only option is to increase the ISO. Noise and image quality in high ISO images can be dealt with (at least a little) in post-processing, motion blur/camera shake can not. So, I'd rather have a higher ISO image that captures the action, than a low ISO blurry mess! :) Like all settings in your camera, we are balancing the positive and negative aspects to get the best result we can. For more information on how to take better images at high ISO check this out!

17) Get closer
The closer you are to your subject, the sharper the image will be. There are are a couple of reasons for this:
- The less air between you and the subject, the less the air is reducing your image quality (including sharpness). This may not sound significant, but when you are taking pictures of distant objects on a hot day, all that haze kills your image sharpness
- The details are bigger, so the image looks sharper
- The closer you are, the less camera shake effects the image (the same applies with wide angle lenses)
Your gear
A camera and lens for a photographer is like a saucepan and cooker for a chef. A chef can cook a fantastic meal with anything, and having the best saucepans and cookers does not make someone a Michelin starred chef. However, better pans and cookers does make it easier to make a delicious meal when you know what you are doing! Along this philosophy, I would recommend mastering everything above before considering this last section.
18) Lens
If you are doing everything correctly above, and your images are still not as sharp as you want, you might want to look into upgrading your lens! Lenses have the biggest impact on image quality and retain their value... You can use the same lens on several subsequent camera bodies.
Better lenses are sharper and often provide better stabilization. But, with great quility comes great prices, they are also very expensive!
If you have the best possible lens and your images are still not sharp... It's you! :P
19) Camera
To a lesser extent than a lens, your camera can also improve the sharpness of your images. So for peak sharpness changing your camera can make a difference, but get the best lenses first!
Here are several key factors of your camera that make a difference to sharpness:
- Sensor size - From my opinion the biggest difference comes with using a full-frame camera vs a crop-sensor camera. Full-frame gives you the best and sharpest images, if you know what you are doing of course!
- The AF system - The best cameras have the best AF systems. They are faster at focusing your lens, can see better the in the dark and are more accurate. They can be optimized more and will might have more AF points spread more across the frame. All of these together might help you get sharper images.
- ISO performance - Newer cameras have better high ISO performance... this will increase the quality of your images at higher ISO's. And of course you ability to have a usable image at a higher ISO will allow you to balance your shutter speed and aperture accordingly to get the best result.
- Megapixels - The more megapixels you have the more detail in your image, and the sharper it can be. But be warned, this is only true if you have VERY GOOD LENSES.
20) Camera/lens pairing
Sometimes a lens is not perfectly aligned with the camera. The result of this is that the final image is slightly front-focussed (focusses slightly in-front of the subject) or back-focussed (focuses slightly behind the subject). This is only really noticeable when you have a narrow depth-of-field, and is rarely a problem. I have only ever experienced it once.
But don't fear, this focusing problem can be fixed in most high-end cameras using Auto-Focus Micro Adjustments (AFMA). AFMA allows you to readjust this setting to optimise your lens and camera pairing by telling the cameras AF system how to compensate for this error. This is not a quick and easy topic to go over, so i suggest you look up the specifics for your camera. Canon made a nice guide for this... you can check it out by clicking on the image below. :)

The bottom line:
There are a lot of factors that can contribute to an image being sharp or not. You will have to figure out which one will help you!
There is another factor to sharp images, and that is to process them correctly. I'm working on a post about that now. :)
Leave a comment if you found this useful or if you have any other nuggets of wisdom to share! :)
Knowing the right shutter speed to use is fundamental to getting the best image. Different shutter speeds are needed for different situations... here is a guide to help you choose! :)