Get better images at high ISO- Part I
Get better images at high ISO- Part I
Nowadays, our cameras have ISO ranges and performance that would be considered unbelievable 10 years ago. But despite the fact that modern cameras have dramatically improved in terms if ISO performance, high-ISO performance is almost always an area that us photographers want improved.
The bottom line is this; the higher the ISO, the lower the resolving power, the more noise in the image, and the lower the dynamic range. All of which impact the over-all image quality of the image. We always want better image quality, and this is hardest at higher ISOs.
So since this is such an important issue, especially to wildlife photographers who have to combat low-light situations, I writing a 2-part blog post. The first part (this part) looks at the theory behind why high ISO is problematic and (more importantly) how to shoot at a high-ISO to click the best possible image you can. The second is how to process that file to get the best final image you can through post-processing.
Understanding ISO
In order to get the best photography you can at a high ISO, you need to understand a little about what ISO is, and how it works, so that you know how to deal with it’s limitations. If you want to skip this theoretical part, scroll down to the next section "How best to shoot at a high ISO". :)
What is ISO?
ISO stands for International Standards Organization (kind of a non-descriptive name to me, but there you go). The ISO number corresponds to the sensors (initially the films) sensitivity to light, and is a standardized scale used throughout the photography industry (so ISO 400 should be the same for all cameras more or less).
What is ‘high’ ISO?
This depends on the camera and its capabilities. Some entry level DSLRs, high ISO is 1600, where as other more expensive DSLRs, high ISO is considered as 12,800 or above. I would consider high-ISO the point whereby the image quality is reduced by a noticeable amount by the non-photographer. But no matter what camera you have, these practices apply.
Why do we get ISO noise?
Noise in an image is a result of a low signal to noise ratio. This basically means that the amount of light hitting that part so the sensor is so low, that any signal it causes is close to the background baseline signal of the sensor itself. Because both the signal caused by the light and the baseline signal (noise) are so close, the processor struggle to determine what is real, and what is not. Now, when you increase the ISO, you increase the sensitivity of the sensor, which in turns increases the background noise, meaning that the signal to noise ratio is reduced (not good). Combine this with the fact that you are using high ISO due to dark conditions, meaning there is less light hitting the lens, and you have a compounded affect… You have less light, and more background base signal.
The higher the ISO the lower the Dynamic range.
Another consequence of higher ISO is the reduction of the dynamic range (DR). DR is the range of sensitivity between what your camera considers black, and what it considers white. The larger the dynamic range the further in both directions your camera can detect details. It is, in essence a measurement of the distance between the amount of light (EV) required to saturate a pixel (the brightest is can detect) and the lowest amount of light required to generate a signal above the background noise (the closest to black it can detect). Exactly why this happens appears to be very complicated. I’ve tried to explain it here, but ended up deleting… The easiest and quickest way of explaining it is that increased background base signal reduces the range in which signal can be detected, therefore reducing the total DR. Bottom line, Higher ISO, Lower DR!
You can see how the dynamic range changes over ISO on your camera the DxO webstie.
Image sharpness is reduced with higher ISO
Sadly, this is another down-side… again due to the increased base-line sensitivity of high ISO conditions, your images will be less sharp.
High-ISO leads to an overall a hit on the image quality, so Why would we use a high ISO then?
Increased noise/grain in the image, lower DR, and decreased image sharpness does not sound like a good idea, so why the hell do we use it? The general premise is the lower the ISO the better the image quality, but at times, we need to increase the ISO, often a lot, in order to get a sufficient shutter speed. Many times I have seen people miss shots in the wild, as they were scared to bump their ISO to get a shutter speed high enough to catch the action. When I ask them why, they say, “the image will have too much noise if I don’t keep the ISO low”. ISO noise is something you can deal with, camera shake due to too low a shutter speed is not so easy to rectify. It is a balance, and one that is different with every camera and lens combination.
How best to shoot at a high ISO
Getting the best images at a high ISO is difficult for many reasons so it is important to know how to get the best images possible. so here are my tips and advice to get the best images you can from the start.
1. Shoot RAW
Noisy images might also require some post-processing (which I will cover next week), so shoot in RAW as it will give you more lattitutde to perfect your image.
2. The secret to getting a good image at high-ISO is nail the exposure.
The reduction of dynamic range at high-ISO means you have less latitude for corrections in post in this regard, so you need to get it exactly right. This is also why people struggle with high-ISO, as getting the right exposure is not always easy for a lot of people.
Shutter speed = how long the shutter is open for, the faster the shutter, the more the action is frozen.
Aperture = how much light the lens lets in and how much is in focus (depth of field). Lower the number, the more open the lens is and more ligtht comes in, but the smaller the depth of field meaning less of the image is in focus (great for single person portraits, not good for group shots or landscapes)
ISO = how sensitive the sensor is to light. The higher the ISO, the more sensitive it is, but the more noise you get.
How to find your balance… the right camera settings
So, we are trying to nail the exposure, in difficult low light situations. This is different for every scene, by here is my general thought process:
- Change the aperture to the minimum f/number I can get or need so I let in as much light as possible.
- I want a shutter speed as low as I can get it for the image I want. For a still subject this might be 1/50, for a moving 1/1000.
- Have the lowest ISO to make the above settings possible.
For wildlife, I usually shoot in Aperture priority mode, so I would change my aperture to the desired f/number. This would automatically change my shutter speed to compensate. So all I need to do, is change my ISO to get the shutter speed I want.
Here is my favorite example... I had less than 30 seconds at the end of a safari in dark conditions to shoot a leopard sat on a temple!
f/4, 1/250, ISO 12,800!!!
3. Expose for the conditions
This is the 4th component required for getting correct exposure; exposure compensation. The short of it is, cameras are dumb and will always try to exposure everything the same, so you need to tell them if it is a dark scene or a light one. In dark situations, you need to underexposed your image to reflect the lack of light and in bright situations you need to overexpose it! Considering we use high ISO in the darker situations, remember to under-expose accordingly!
This image was taken in less than optimal conditions, it was shot at the end of a safari, minutes before it was completely dark. The only way I could get the shot was by setting the exposure compensation to -1.3 EV. Otherwise my camera would be trying to make it lighter than it actually was!
4. ETTR
ETTR (Expose To The Right) is a technique where-by your slightly over-expose your image above optimal. The basis behind it is that you get most noise, loss of detail and DR are in the dark areas of a scene, by overexposing the image slightly you will get that information. Combine this with exposure compensation for the best result.
f/1.4, 1/1000, ISO6400 (to catch the falling snow)
5. Look for high contrast images
We have said that high-ISO comes with lower dynamic range. The lower the dynamic range, the more contrast you will have in your image, so use this 'down-side' to your advantage and look for high-contrast scenes to shoot. This will negate some of the downside of lower DR.
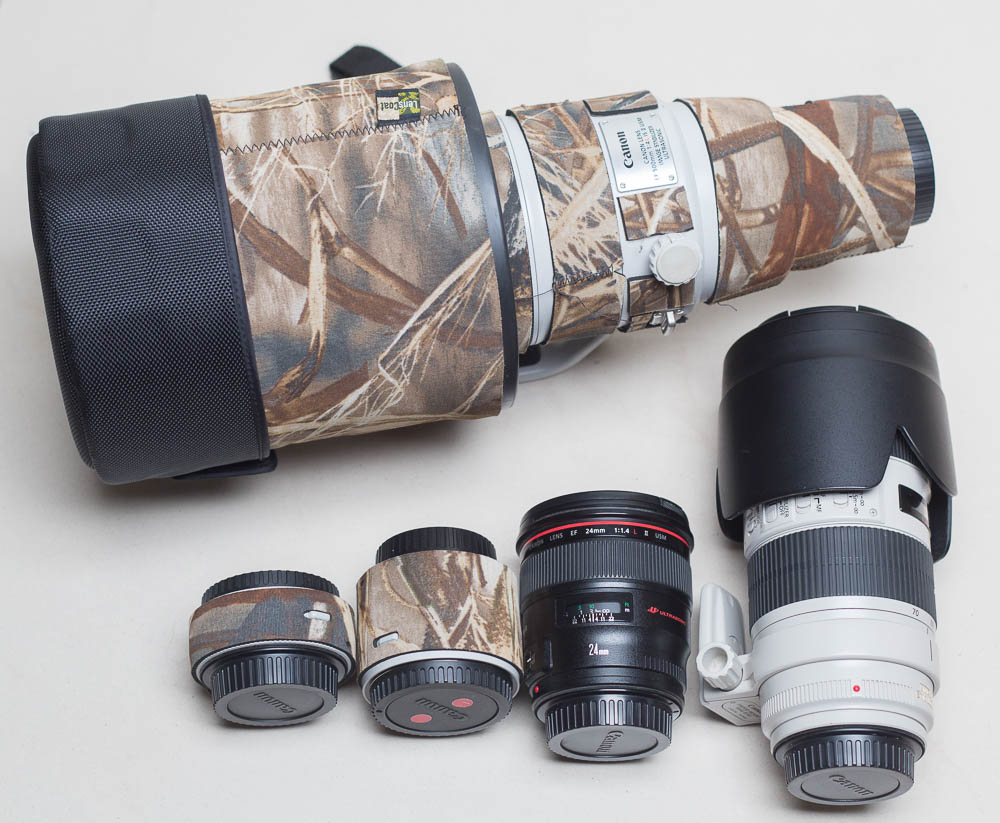
6. Use the best gear
Full-frame sensors have better ISO performance, and faster lenses can let in more light... so if you are going to shoot low-light action a lot, you might want to look into up-grading you gear to get the best starting image as possible.
Here the full-frame sensor5D IV maintains a better DR over the ISO range as compared to the crop-sensor 7D II. Also, note that the ISO range of the 5D IV is larger than the 7D too. DxOMark
The lower the f-value, the more light the lens will let in.
This is just the start
Getting the best starting image you can, is just the start. Next you need to know how to process it to get the best result you can. Keep and eye out for the second part of this series, where I will be showing you how to process you image using lightroom to get the best you can.
Did I for get anything? What do you do differently when shooting in low-light? Let me know in the comments below.